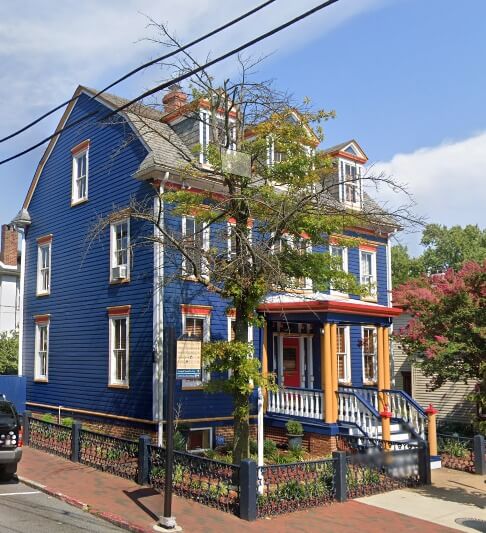
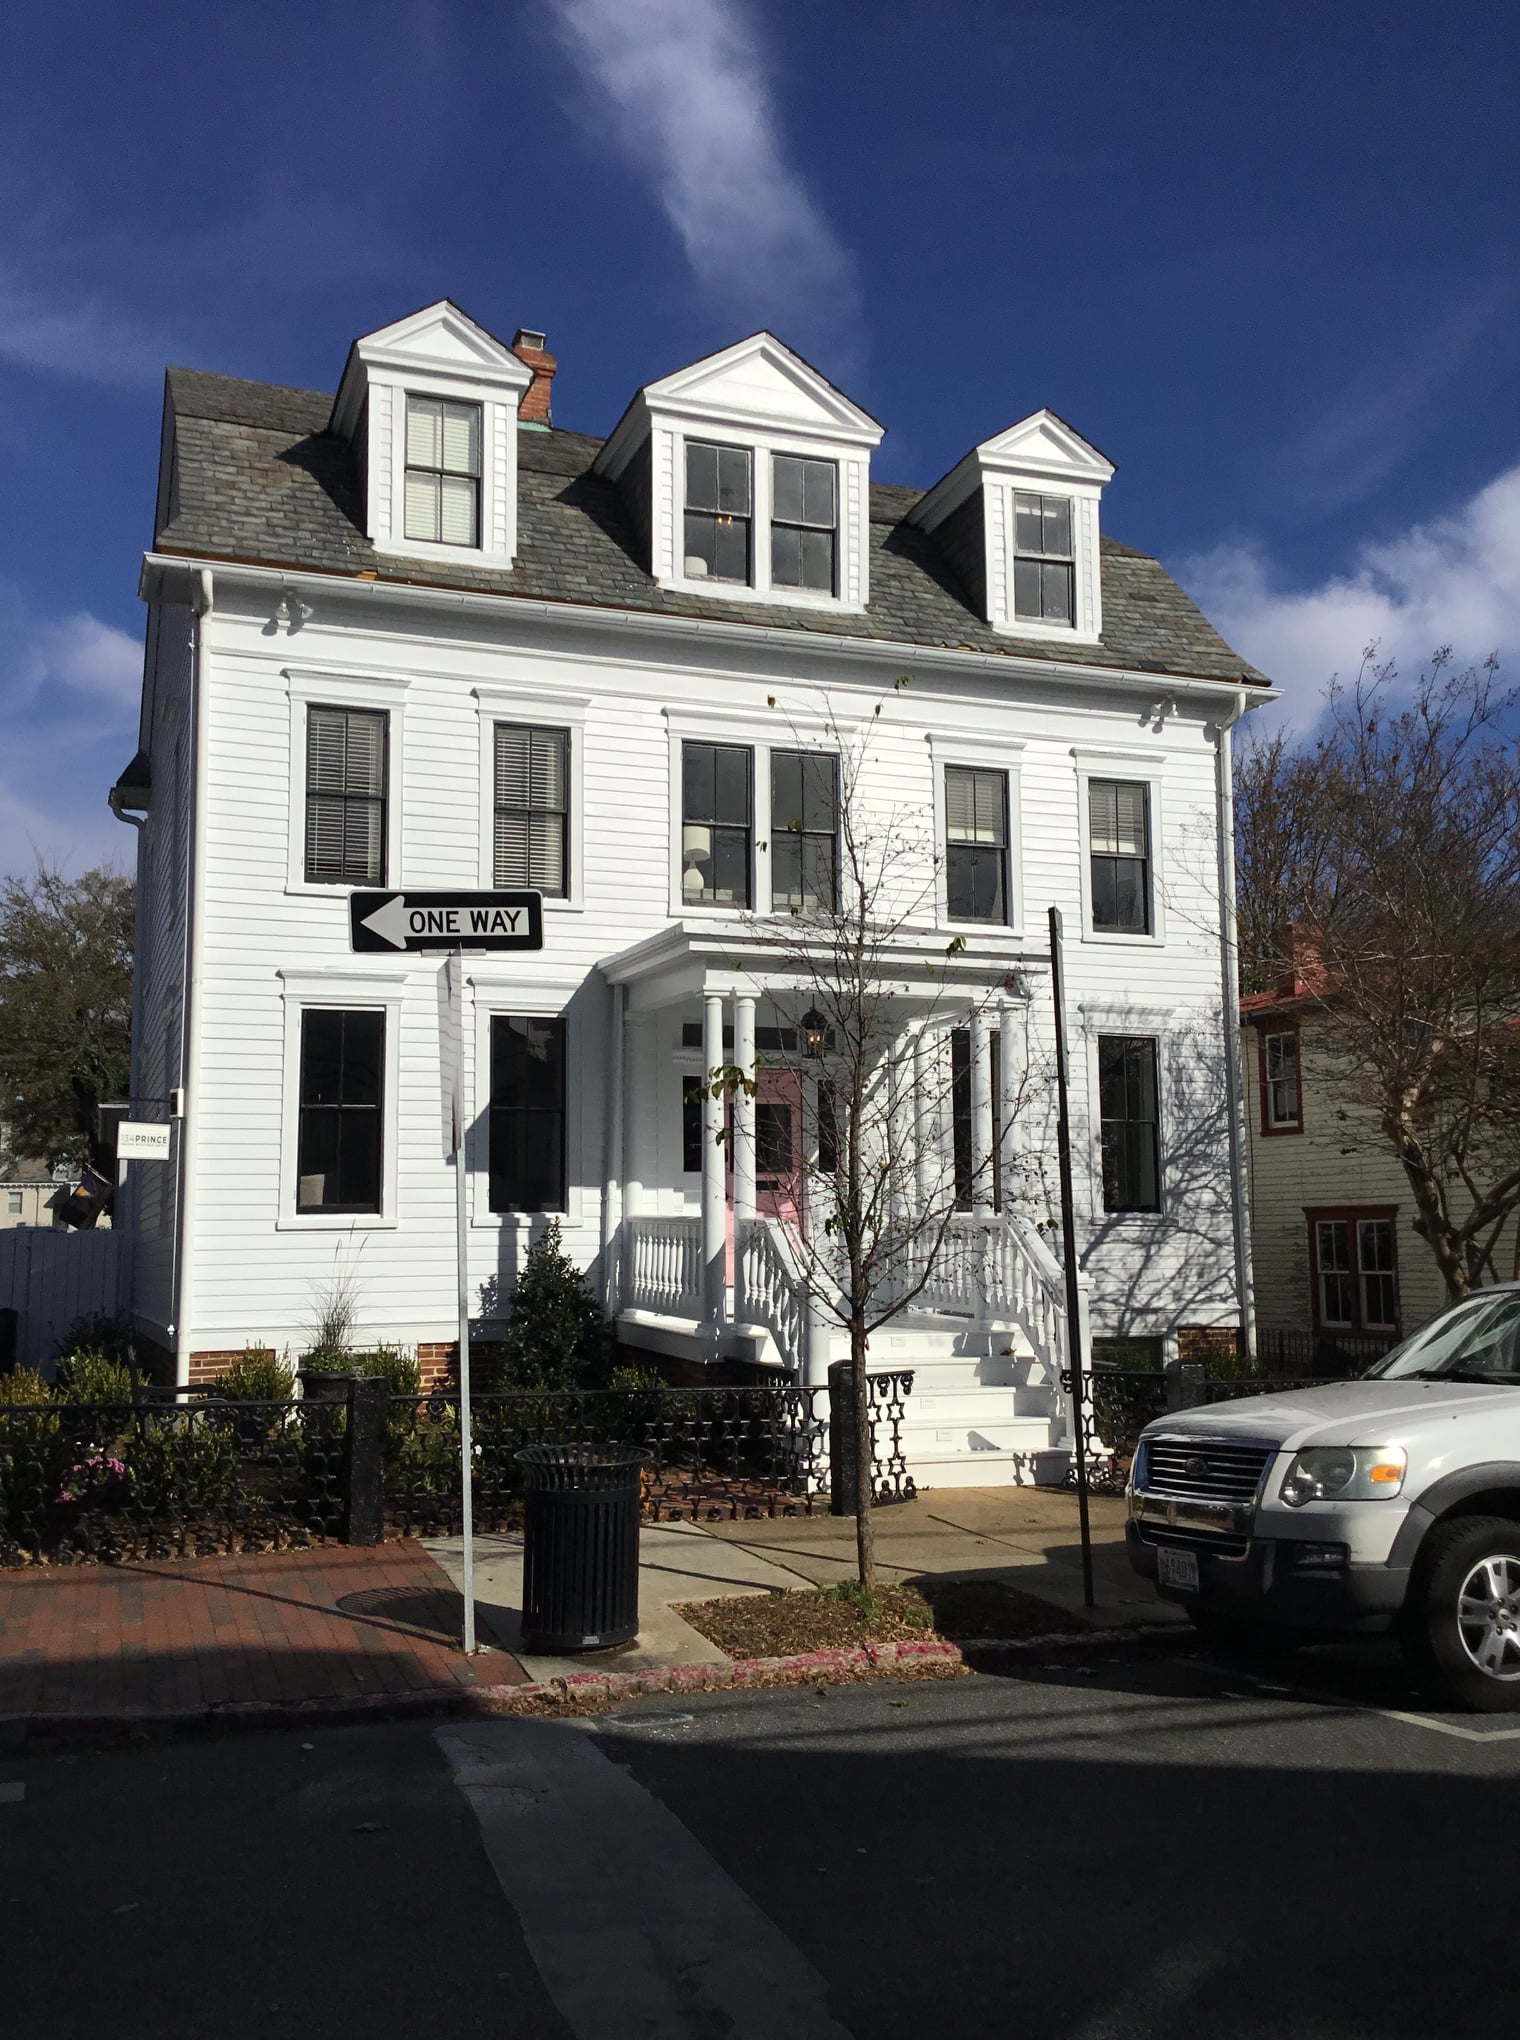
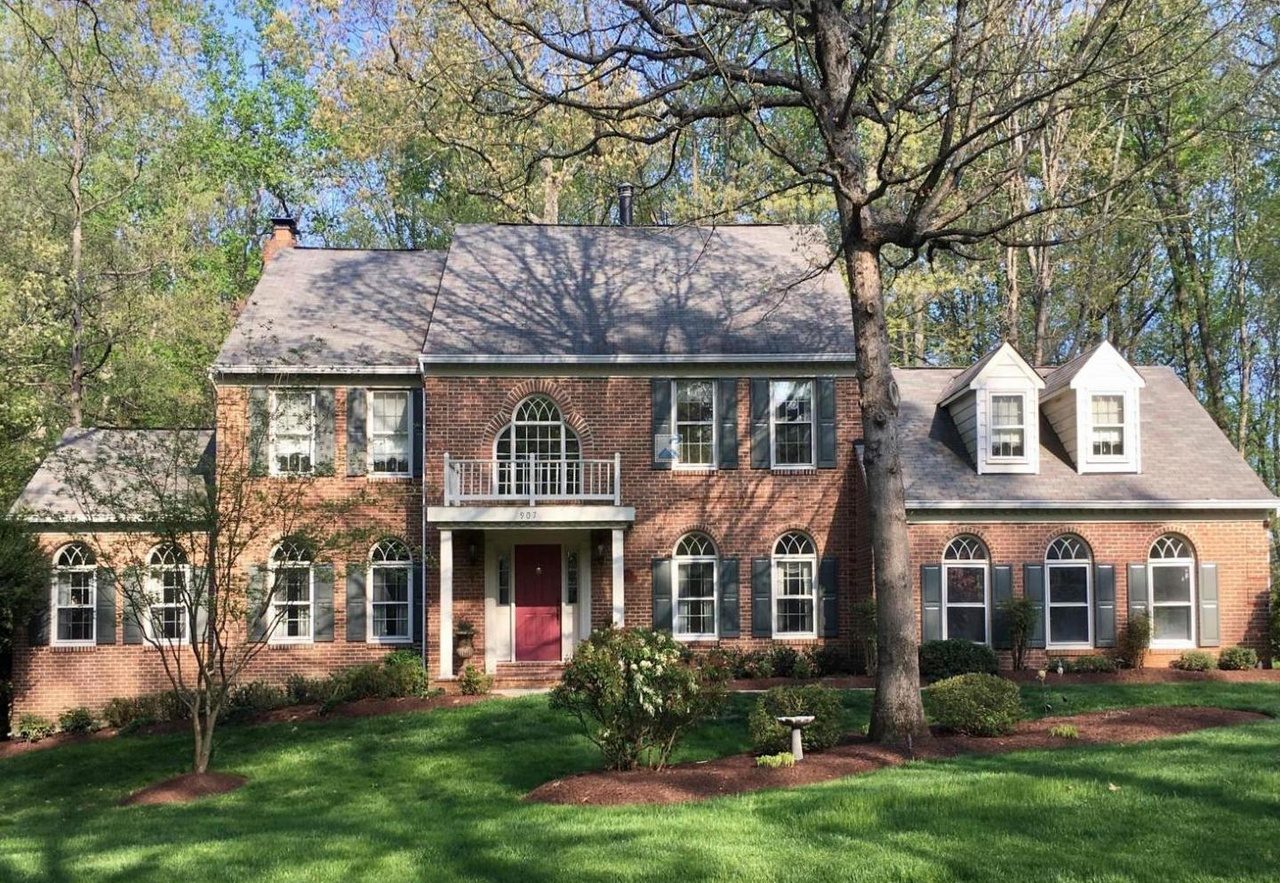
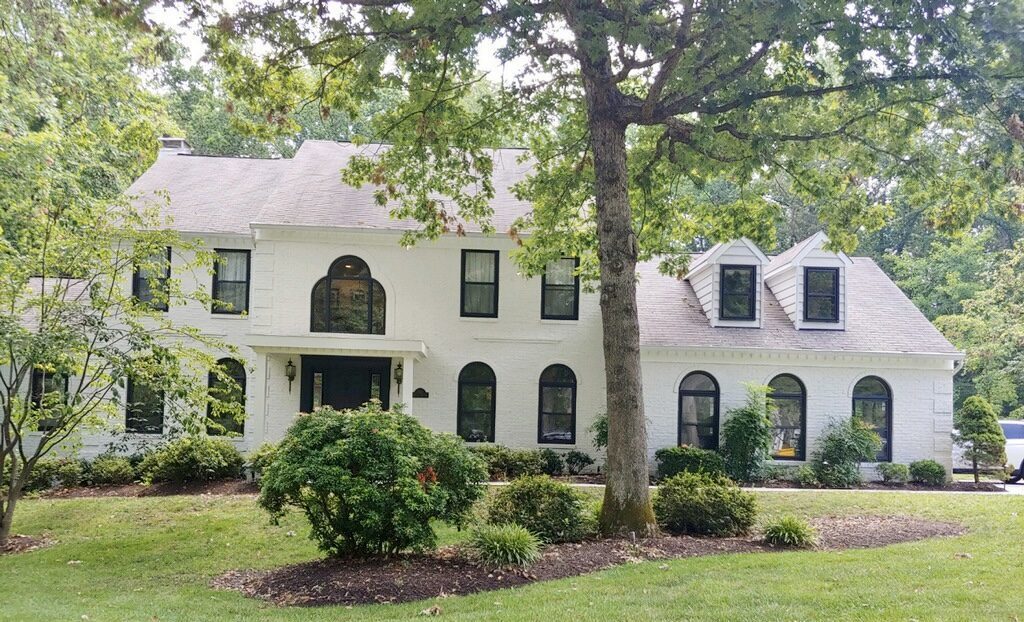
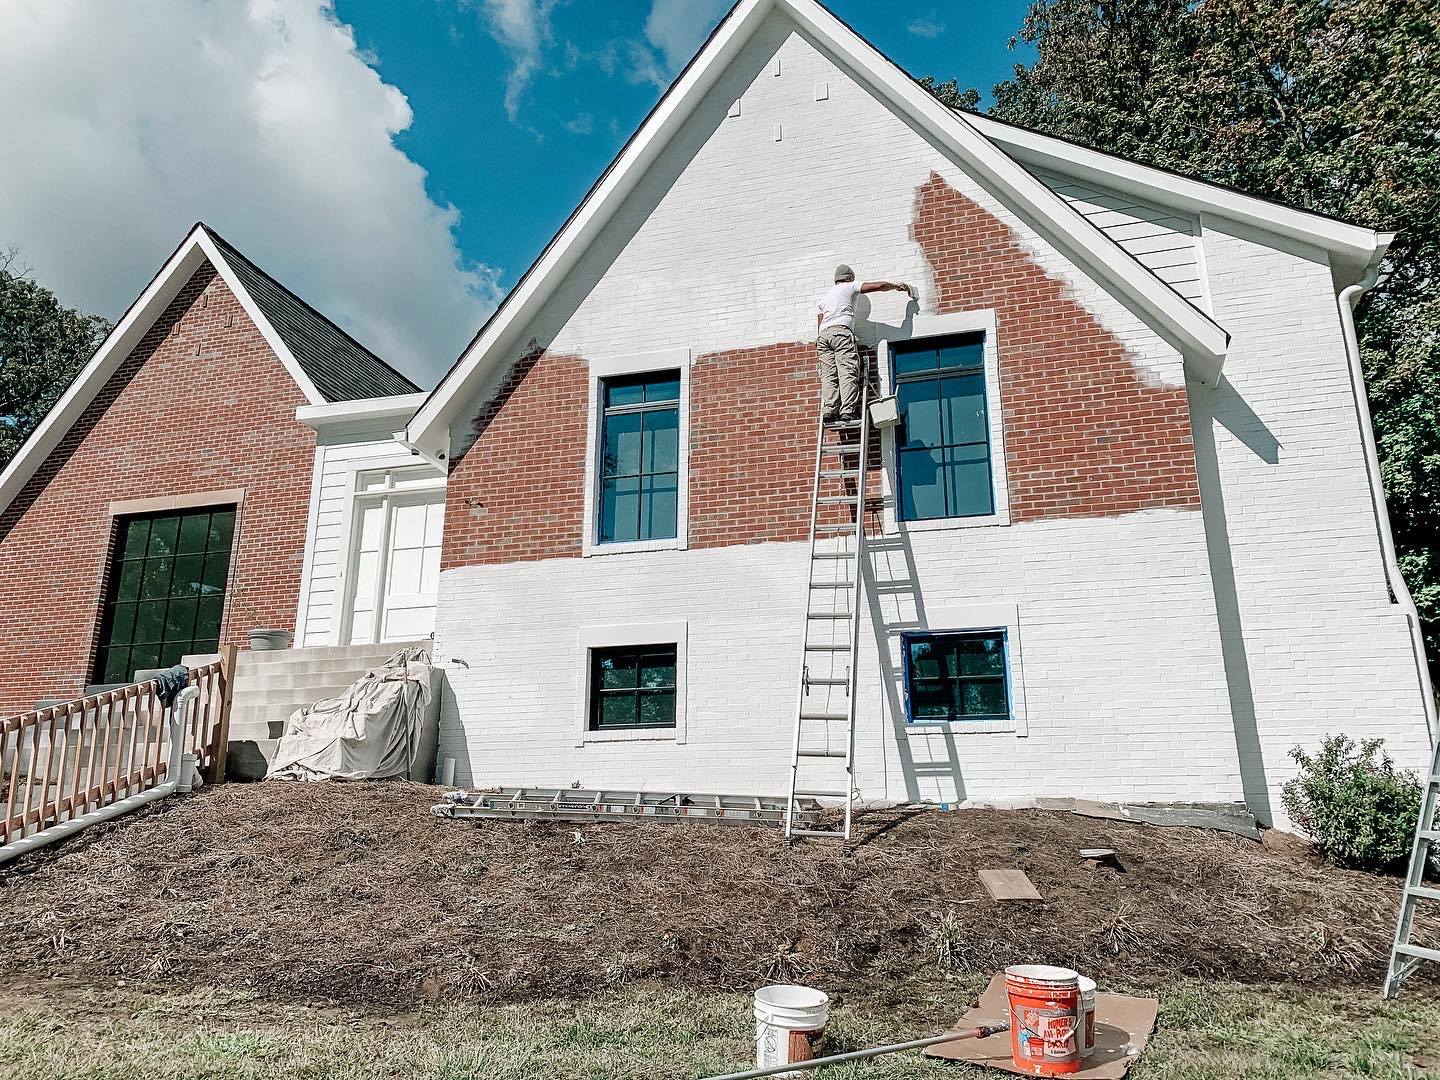
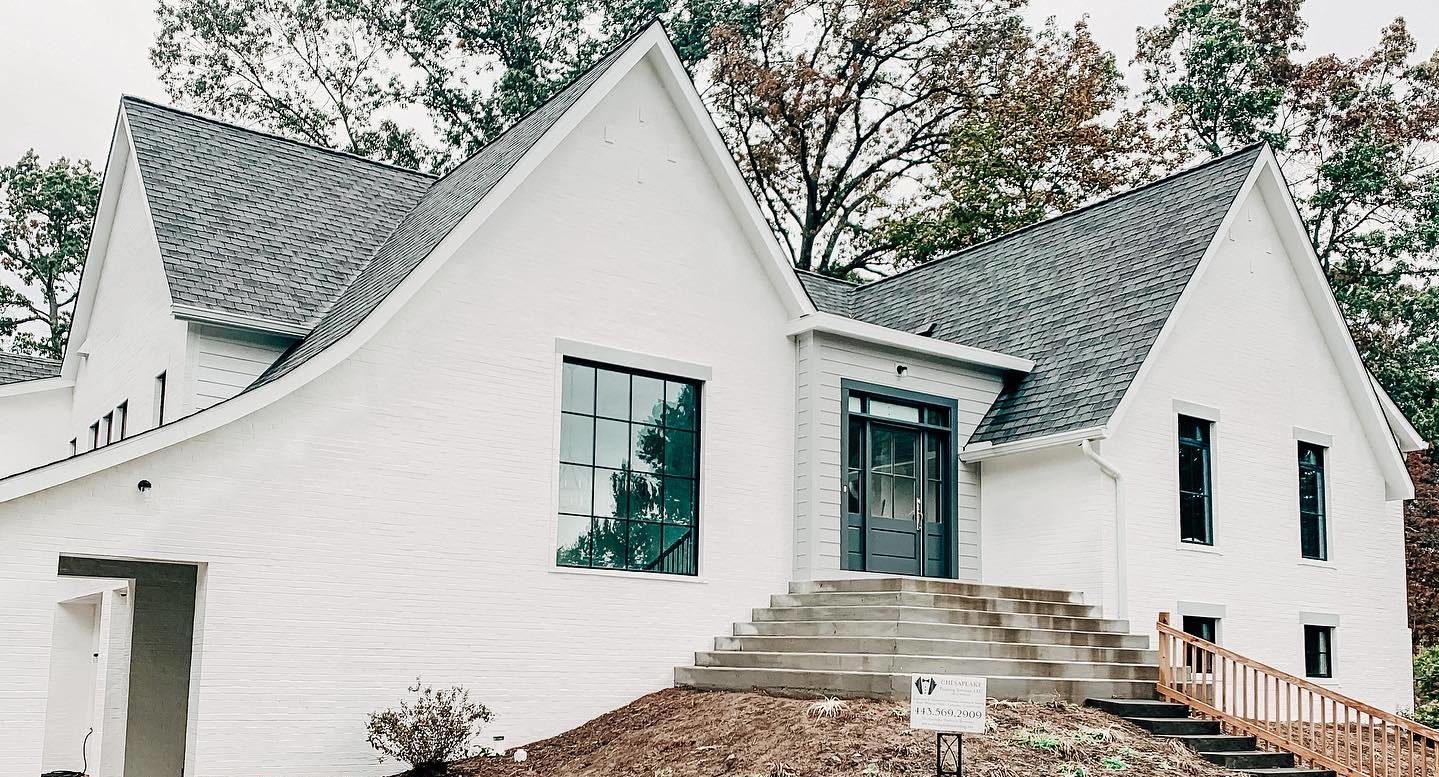
Achieving your dream look for your home!

Exterior Painting Projects

Whether it is time for a change, annual maintenance, or the pesky annoying neighborhood association making their rounds, there WILL be a time when this is needed. Your home is most likely your biggest investment and unfortunately you need to maintain that investment, especially if you are hoping to sell it for top dollar one day. No job is too large or small for Chesapeake Painting Services.

Just click the FREE ESTIMATE button to inquire and receive an exact cost for YOUR project.

Not All Homes Are Created Equal.

No job is too large or small for Chesapeake Painting Services. We are a custom paint company. While it is difficult to give accurate pricing without seeing your home, the following are general expectations for average projects that we have completed.

Tall Projects

$5,000*approx.

Grande Projects

$10,000*approx.

Venti Projects

$15,000*+approx.

*These prices are estimates based on the past projects we have completed. Pricing will vary depending on the size of your home, add ons (porches, decks, sheds, garages, etc). These prices are subject to change if carpentry is involved (repair and/or replacing).

Exterior Painting Process

A fresh paint job has the power to completely transform the look of your house in less time and the least amount of money than any other remodeling project. Curb appeal also protects your investment! When keeping up with your exterior projects keep in mind the weather; exterior projects can only be done when the weather is above 55 degrees (overnight as well). The most popular time of the year is April through October. Trust your painter when it comes to your project and the weather. Trust me, the biggest part of our job during exterior season is watching the weather channel.

  • STEP 1 – PREPARATION

    We would want to start the project off by power washing the entire exterior of your home. Even if you think your house looks clean enough, it likely isn’t. When paint is applied to a home that hasn’t been cleaned thoroughly, the paint will not adhere well and although it looks good for now, you could experience problems later down the road.

  • STEP 2 – SCRAPING/CARPENTRY

    The next step is most likely where most DIYers throw in the towel and immediately call in the professionals, scraping and sanding the entire surface of the home to remove all the peeled, bubbling, loose, and/or blistered paint. If you don’t have a nice clean flat surface for the paint to stick to, you are inviting problems to the party (and as well as we all know, nobody likes problems). After a good scraping, you should do a final sanding of all the surfaces to ensure it is paint ready. Now’s the time to fill any minor cracks and dents, repair any rot, or replace any pieces that are beyond repair.

  • STEP 3 – PRIMING

    Primers are formulated to penetrate, seal, and more importantly provide a good surface for the top coats to stick to. Keep in mind though that if the paint surface is clean and sound, you cannot skip this process. Apply primer to all the bare spots created by washing, scraping and sanding. Apply the primer with even strokes and a wide brush. A 3-inch brush works well for this. Wait for the primer to dry before applying finish coats — usually a day.

  • STEP 4 – CAULKING/SEALING

    Now your home is ready for the caulking process. We caulk all gaps and joints (good rule of thumb is caulk anything less that a ¼-inch-wide). Don’t forget to remove the old failing caulk and re-do with new. This protects the interior surfaces from any water damage, insects etc. This should be checked every year, redone after 5 years.

  • STEP 5 – PAINTING

    FINALLY, it is all ready for painting. Now is not the time to be cheap. Better quality paint means you will paint fewer times over the years, not to mention the better coverage you will achieve. You will be tempted to save money here by cheating out but trust us, you are going to have problems and definitely pay more in the long run. We begin by painting the trim, doors, and shutters first. Depending on the shutter material and how they are hung we may remove those too paint. While the trim and doors are already taped off it allows for us to begin painting the siding.

  • STEP 6 – FINAL DAY

    Once your job is finished we will ask that you complete a walk through with the team leader and/or project manager. Please point out any imperfections that stand out to you. We are there to complete YOUR project, happiness is key! We provide a one (1) year warranty against paint failure. Chesapeake Painting Services will repair any portion of the project described in your estimate that fails due to workmanship.

Call Us Today for YOUR Free Estimate

(443) 569-2909